Posts Tagged

coupon code

How to buy web hosting from Hostinger – Black Friday Sale (Discount Coupon Code Included) – for your website or blog

Hostinger is a popular web hosting provider, and purchasing hosting from their platform is a straightforward process. Here’s a step-by-step guide to help you get the best and affordable hosting for your website or blog. You can choose from below the location – India or International.

For India


For International:


Step 1: Visit Hostinger’s Website

Open your web browser and go to respective Hostinger’s website (.in or .com)


Select the type of hosting you want
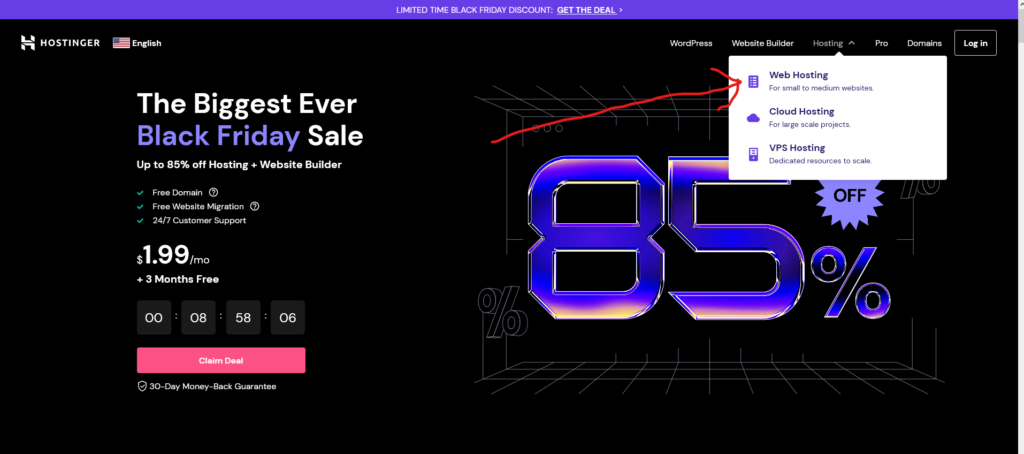
Step 2: Choose a Hosting Plan

On the homepage, you’ll find various hosting plans. Choose a plan that suits your needs. For beginners, the “Single Shared Hosting” plan is a good start. Click on the “Add to Cart” button for the selected plan

Step 3: Choose a DURATION – 1 year or more recommended

Choose duration as 1 year or more.
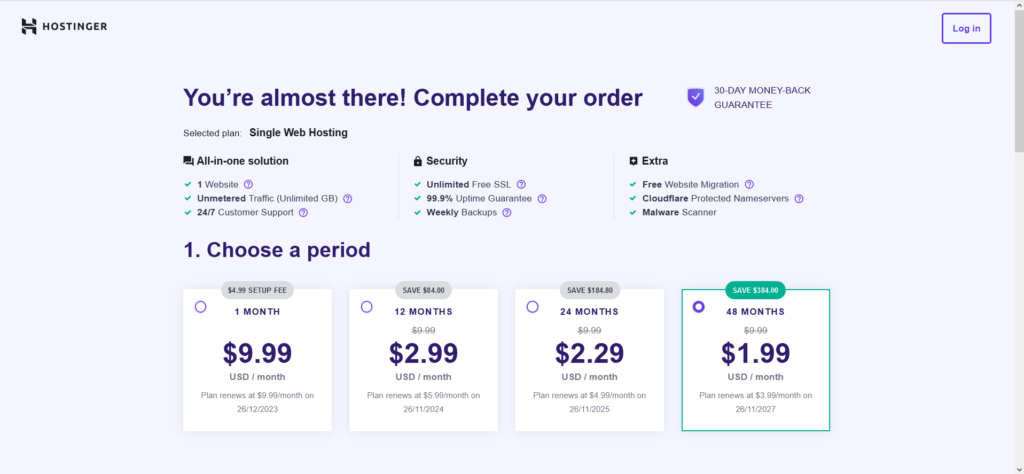
Step 4: Create an Account or SIGN-IN WITH GooGLE

If you are a new user, you need to create a Hostinger account. Fill in your details, including your email address, password, and other required information.
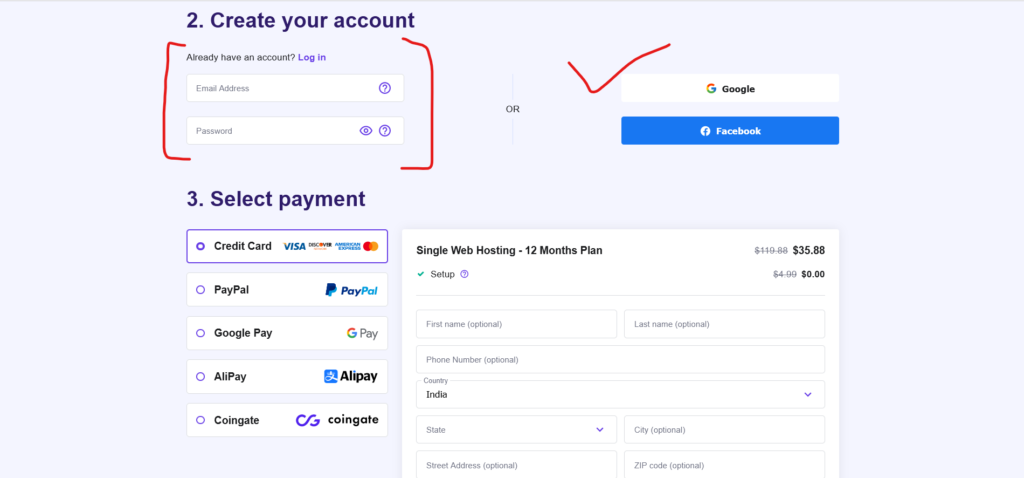
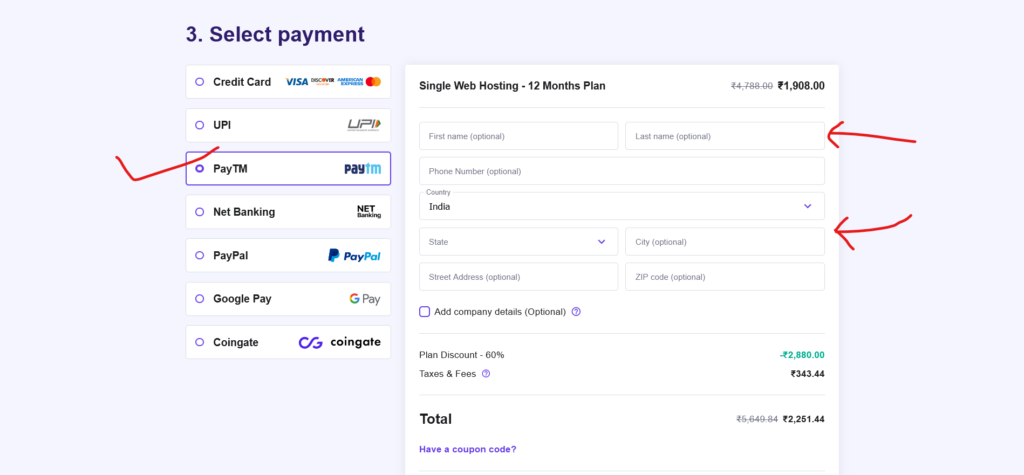
Step 6: Choose a Payment Method

  1. Choose your preferred payment method. Hostinger accepts various payment options, including credit/debit cards, PayPal, and other local payment methods.
  2. Enter your Billing & payment details.

Step 7: ENTER THE DISCOUNT CODE as

If not auto-applied already.

Step 8: Complete Your Purchase

Review your order and payment information.

Step 9: Setup Your Account

  1. Once your payment is successful, you will receive a confirmation email.
  2. Log in to your Hostinger account using the details you provided.
  3. Follow the on-screen instructions to set up your hosting account.

Step 10: Access Your Hosting Control Panel

  1. Once your account is set up, you can access the hosting control panel (cPanel).
  2. From the dashboard, you can install website builders like WordPress, manage your domain, and explore other features.

Congratulations! You’ve successfully purchased web hosting from Hostinger and are ready to start building your website. If you have any questions or encounter difficulties during the process, Hostinger’s support team is available to assist you.

Hope this helps!

Happy Hosting 🙂

How to buy web hosting for your website or blog – (Hostgator Discount Coupon Code Included)

If you are looking to buy a good web hosting to start your website of a blog, here is a step by step guide on

How to purchase a good and affordable web hosting for your blog or website

Please Note: This article contains affiliate links for HostGator services

I have been using HOSTGATOR for hosting my websites since long, so if you are willing to try it, click this link to open a new tab

fast and cheap web hosting

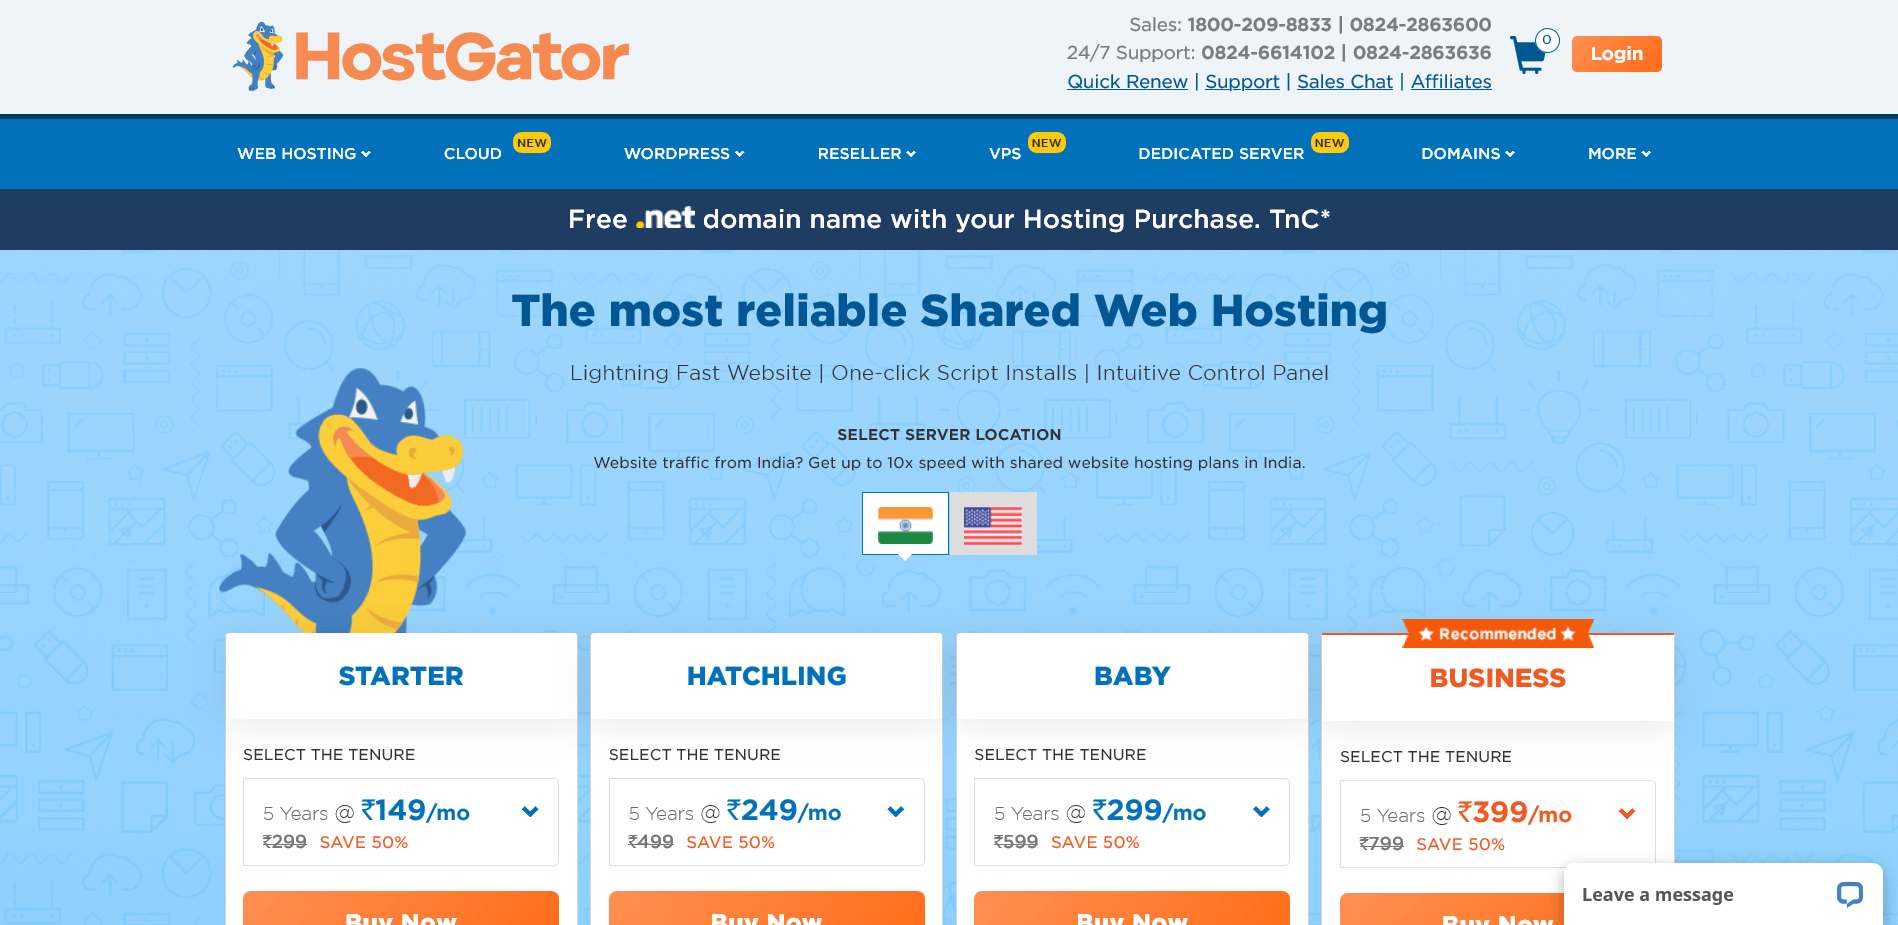
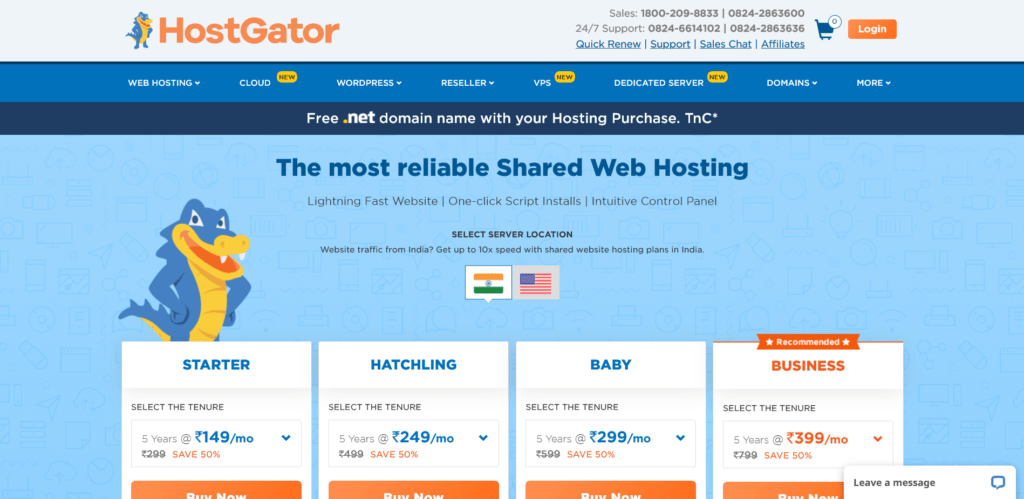
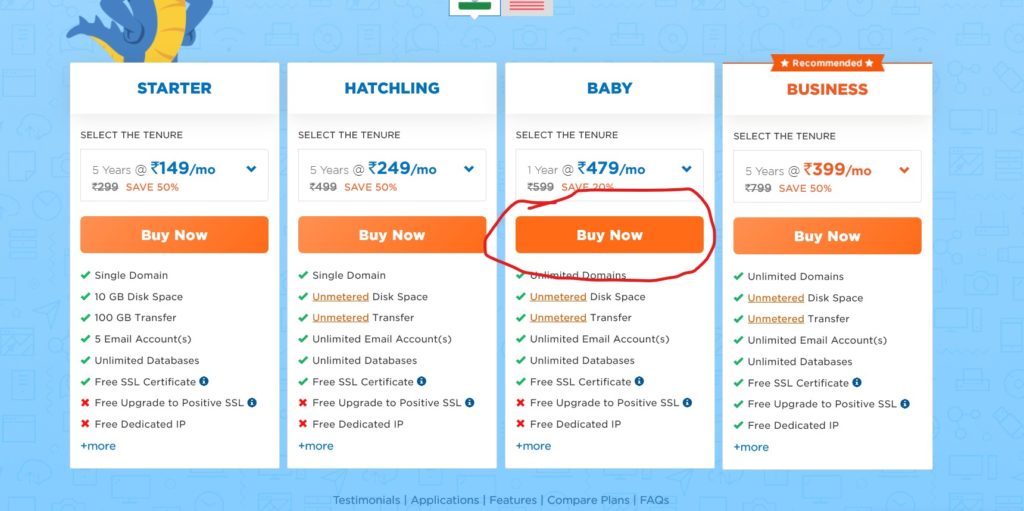
On clicking the above link, you’ll reach a landing page showing various plans offered by Hostgator

Follow these steps to purchase the hosting

how to purchase web hosting

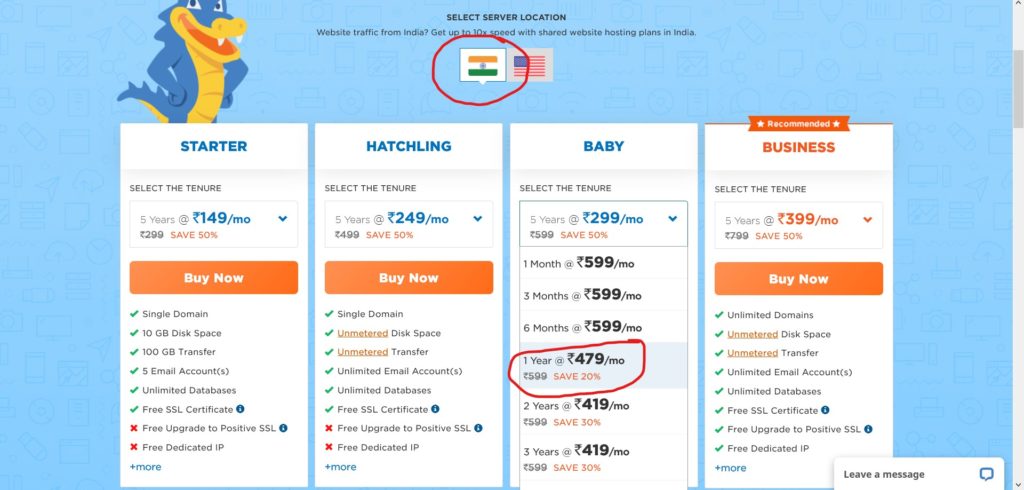
  1. Select the country as – India (Or USA if you need that).
  2. Choose the desired hosting plan and duration.
  3. Now click the buy now button.

choose the right hosting plan

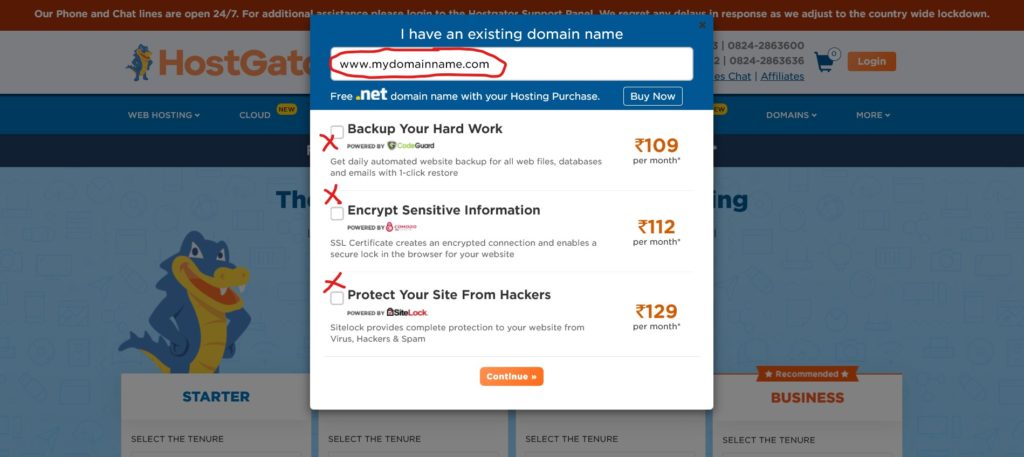
  1. Now you will be asked if you have a domain already of now
  2. Select Yes (I recommend you buy a domain before buying hosting). I personally prefer GoDaddy to buy domains (only domains, not hosting)
  3. Once you enter your domain name, remove all add-ons to reduce cost (or keep them if you want)

select your domain name

  1. Now press “continue” to proceed
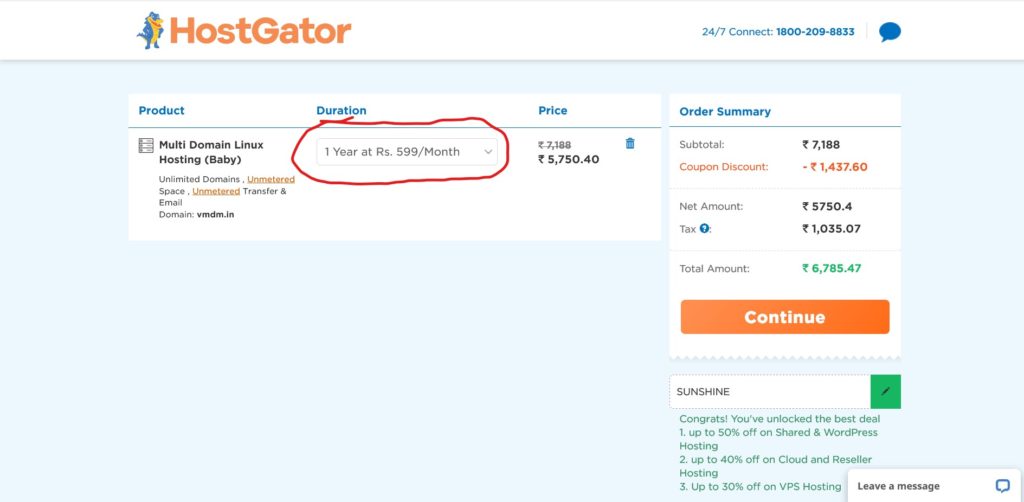
  2. On the ckeck-out page, please verify duration & payment first.

check hosting duration

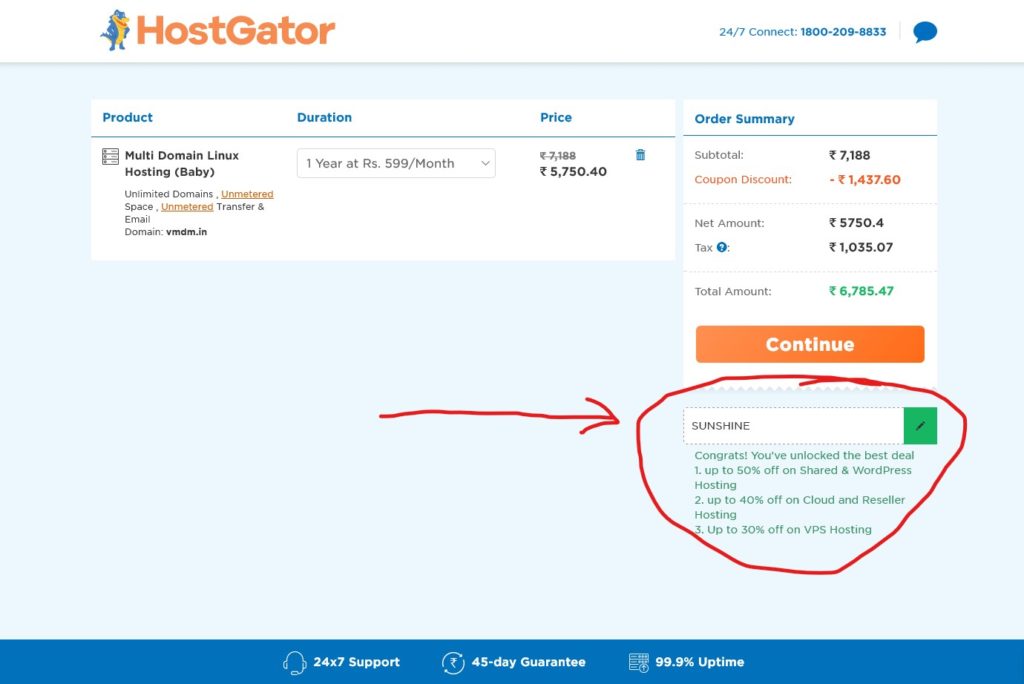
  1. Next, on the same page you can apply the COUPON CODE to get any on-going offer discount
    Here’s a 100% working discount code:

Up to 50% Off On Web Hosting

Code: SUNSHINE
Type: General Sale
Discount: up to 50% discount

hostgator discount offer

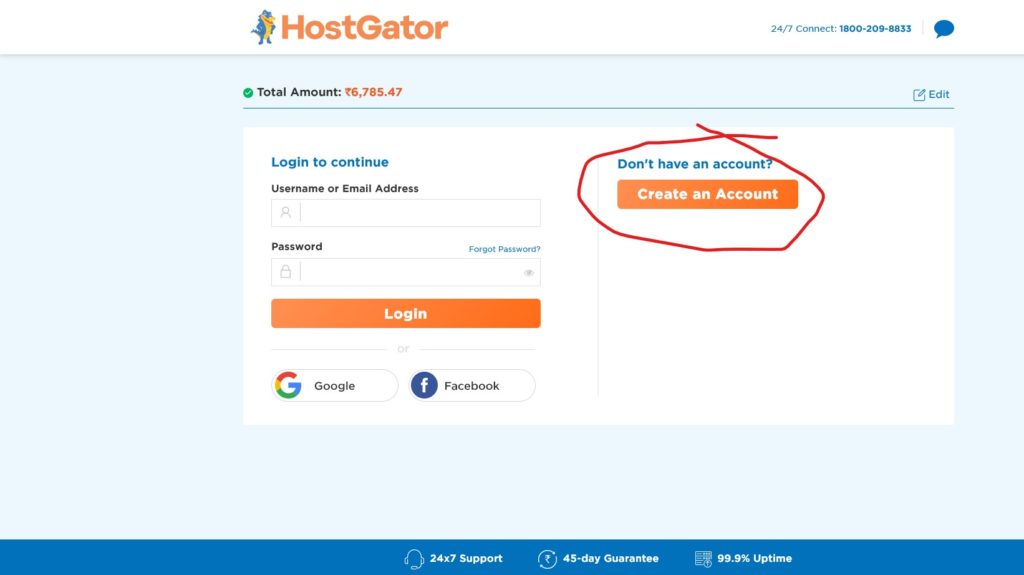
  1. Now click “Continue” and you’ll be asked to login or create an account. So do as applicablble

create a hostgator account

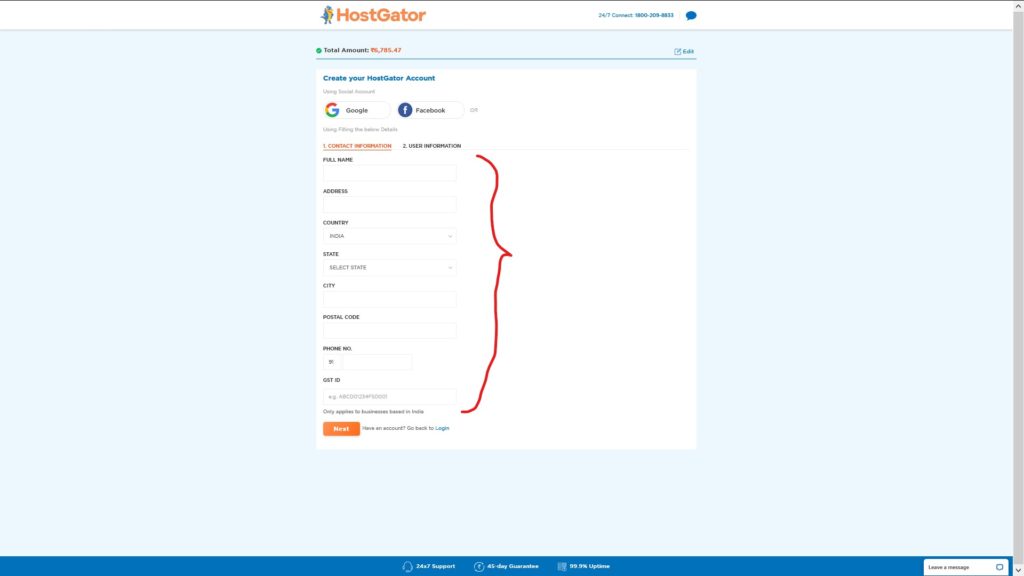
  1. Kindly fill up all contact / user details correctly.

RE-CHECK ALL DETAILS BEFORE CLICKING “NEXT”

signup on hostgator to buy hosting

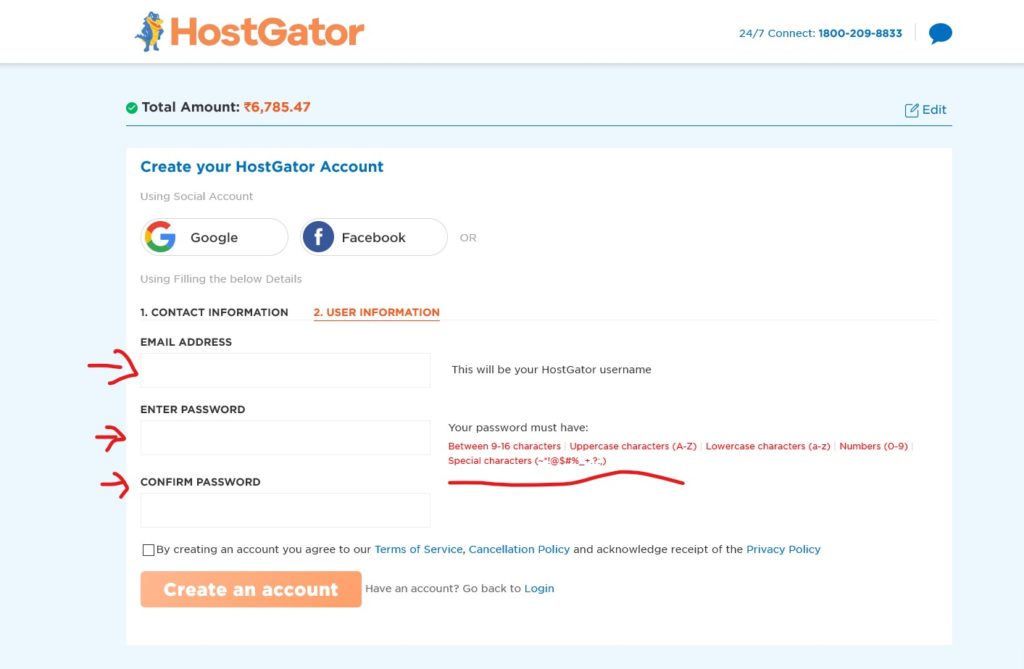
  1. Recheck all details and submit the details, no is the time to create your your username(email id) & password.

Keep it safe!

hostgator signup while purchasing hosting

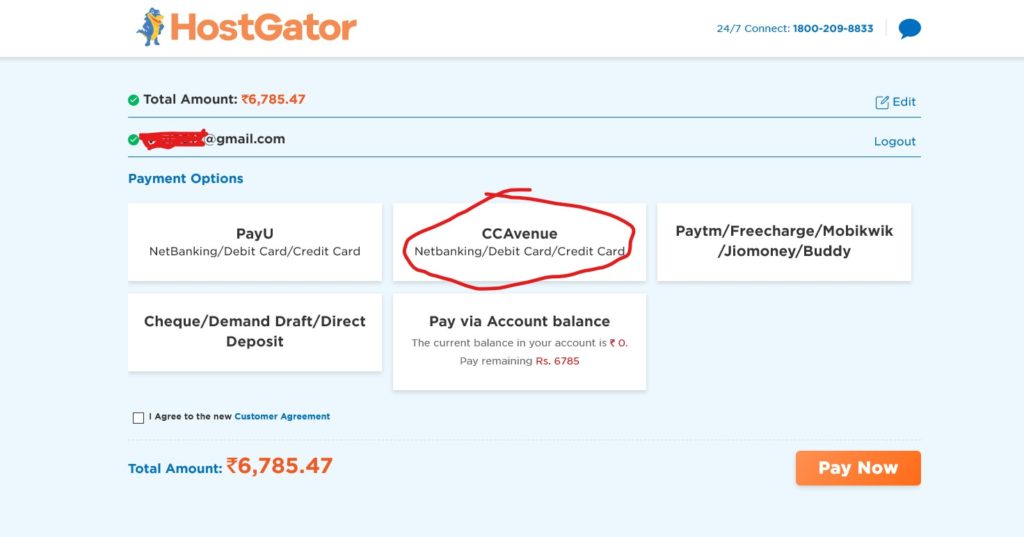
  1. Once you’ve created your account or logged in, you will be asked to select the payment mode. I made payment using credit card so I selected CC avenue, You can choose relevant payment option.

select payment method

  1. Make payment on the gateway and you’re done!
  2. Follow the on screen instructions to complete the payment.
  3. You will be redirected to the payment gateway and confirmation page once the payment is successful.
  4. Please check your email id (used in during registration) for any confirmation email or invoice.

After purchasing the hosting you may need to configure your D.N.S setting and you can do the same from respective Domain & Hosting account.